Are you ready to embark on a journey to become a master of sourdough bread baking? Look no further! In this comprehensive guide, we will delve into the world of sourdough bread, exploring its history, current trends, and providing you with the knowledge and techniques to create your own delicious loaves.
The Rise of Sourdough Bread
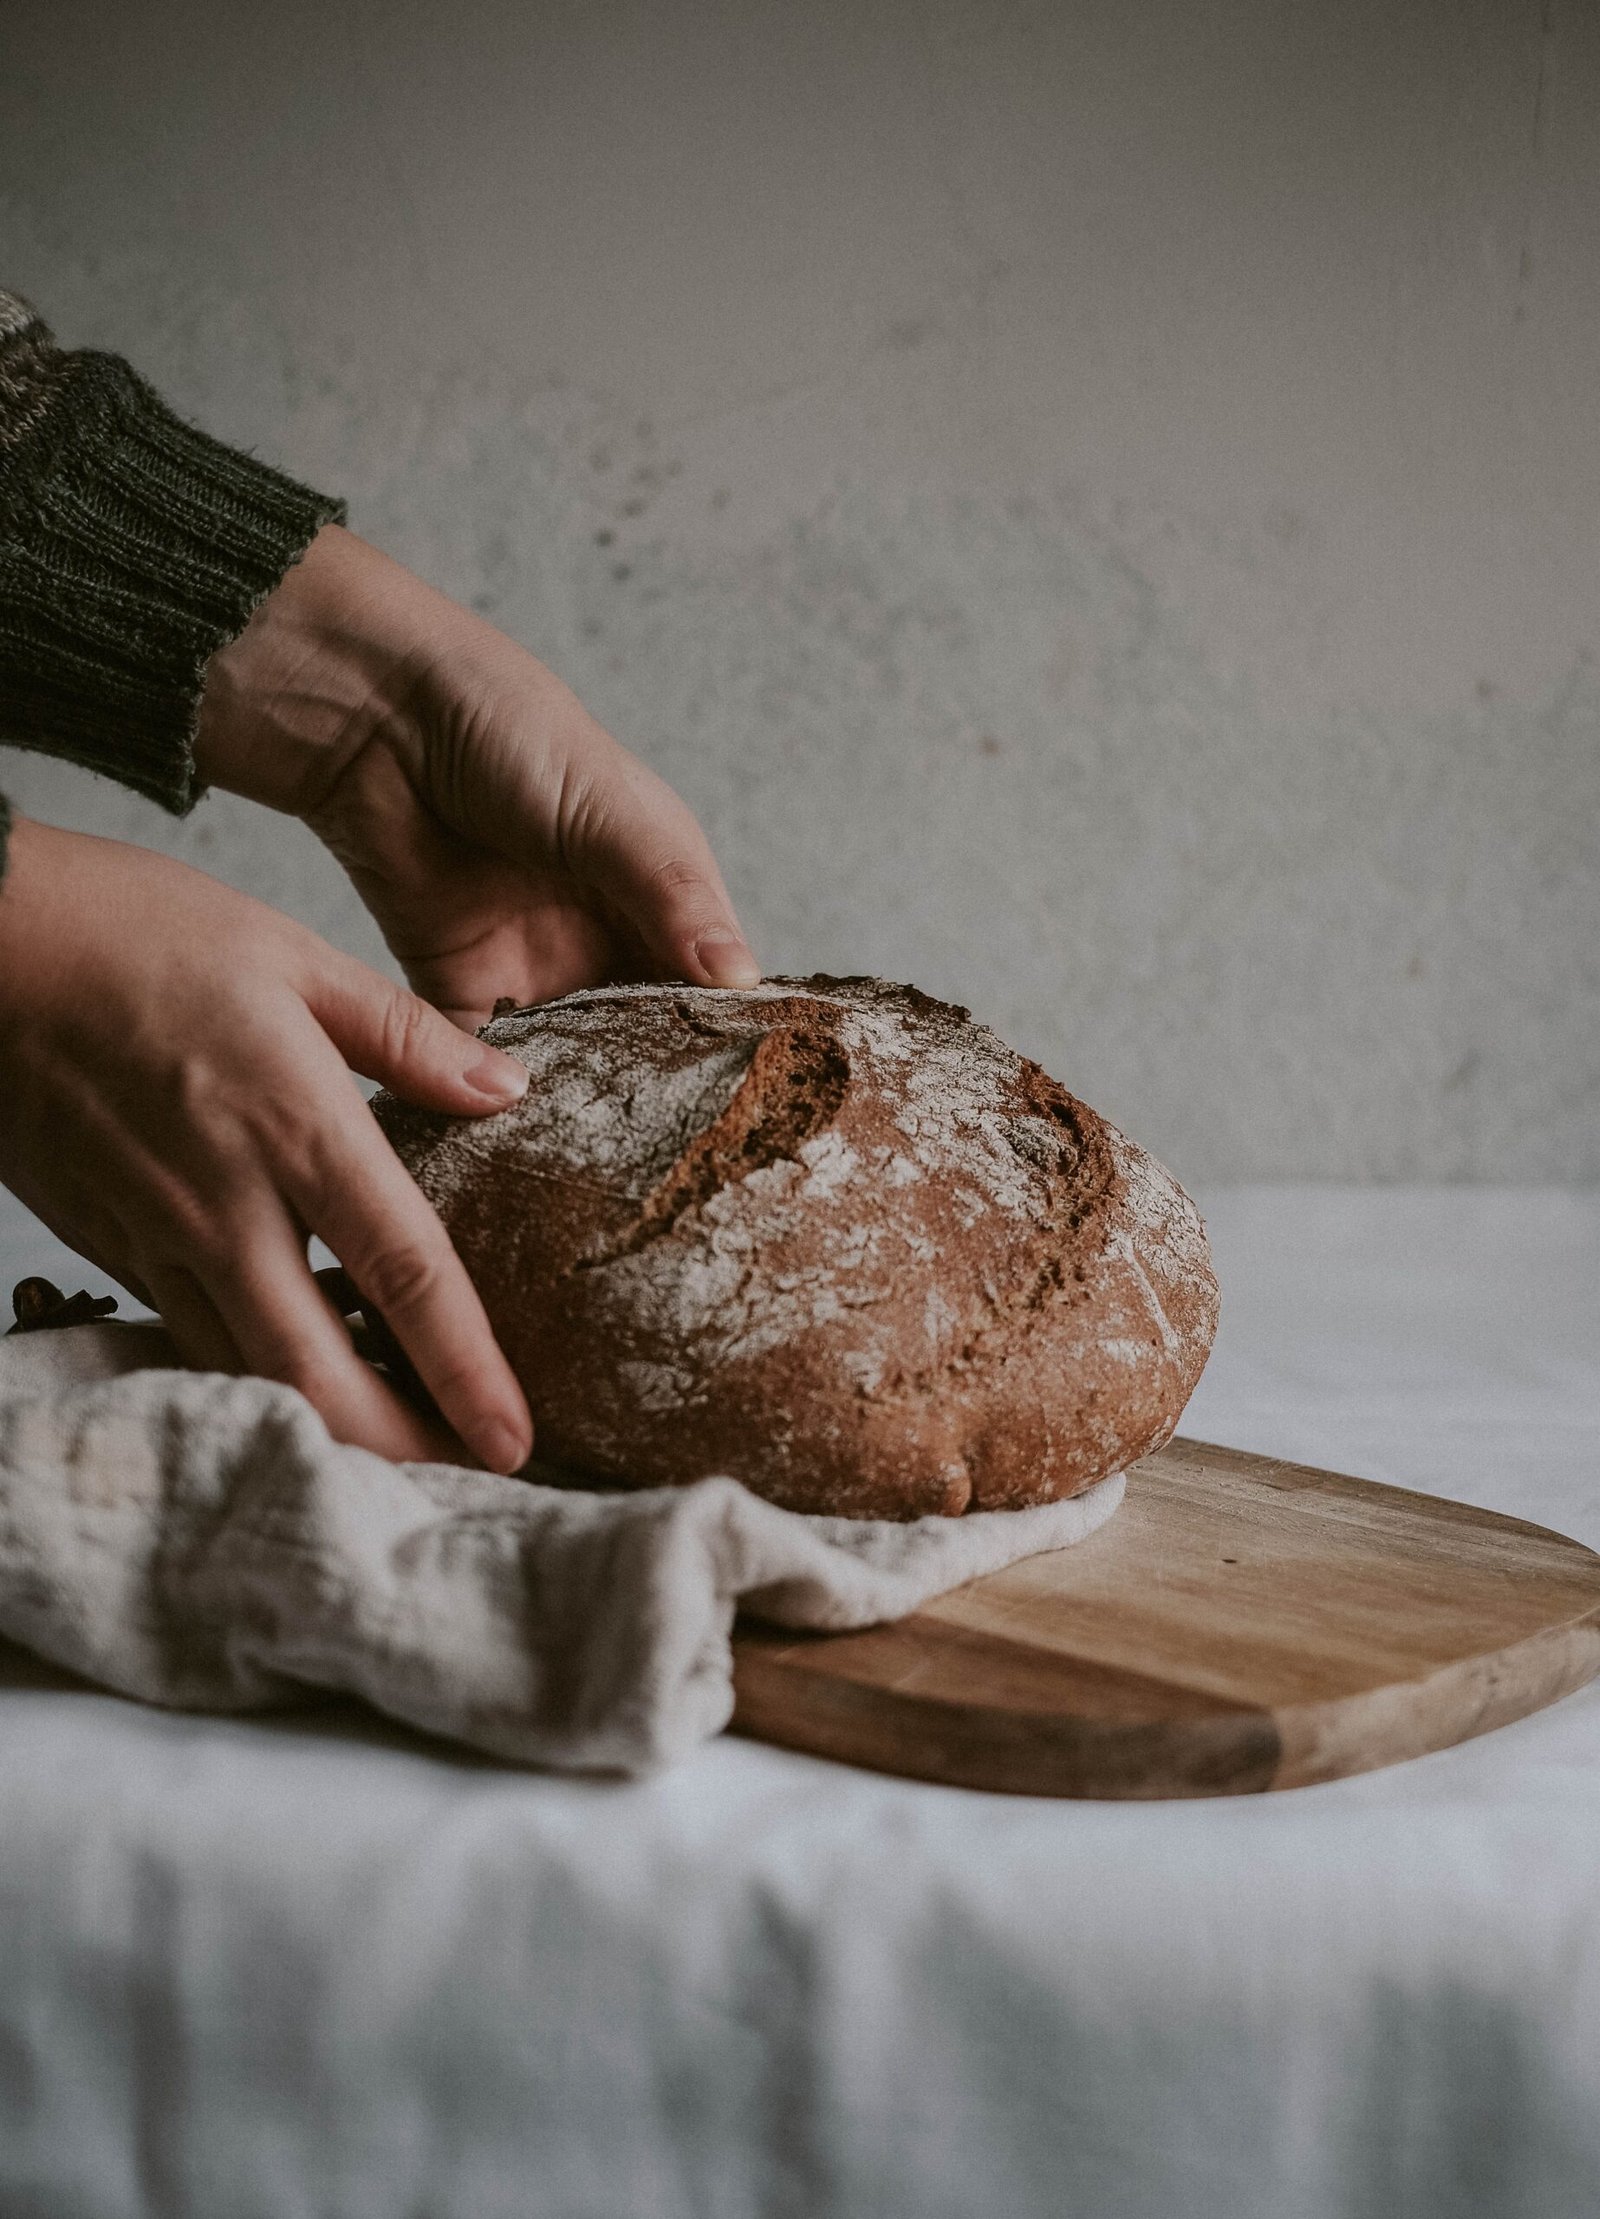
Sourdough bread has experienced a resurgence in popularity in recent years. With its distinct tangy flavor, chewy texture, and health benefits, it has captured the hearts and taste buds of bread enthusiasts around the world. Its roots can be traced back thousands of years, making it one of the oldest forms of bread.
What sets sourdough bread apart from its commercial yeast counterparts is the natural fermentation process. Instead of relying on commercial yeast, sourdough bread utilizes a starter made from a mixture of flour and water, which ferments over time, creating a wild yeast culture. This process not only imparts unique flavors but also enhances the nutritional profile of the bread.
Mastering the Art of Sourdough Bread Baking
Now, let’s dive into the essential steps to master the art of sourdough bread baking:
Creating and Maintaining a Starter: The foundation of sourdough bread is a healthy and active starter. To create a starter, combine equal parts flour and water and let it ferment for several days, feeding it regularly. Once your starter is active and bubbly, it’s ready to use in your bread recipes.
Choosing the Right Flour: The type of flour you use greatly impacts the flavor and texture of your sourdough bread. While all-purpose flour works well, many bakers prefer using a combination of bread flour and whole wheat flour for added depth of flavor.
Autolyse and Mixing: Autolyse is a technique where you mix flour and water and let it rest for a period before adding the starter and salt. This allows the flour to hydrate fully and develop gluten, resulting in a better texture. Once autolyse is complete, mix in the starter and salt until well incorporated.
Fermentation and Bulk Proofing: After mixing, the dough undergoes a series of fermentation and bulk proofing stages. This is where the magic happens, as the wild yeast in the starter ferments the dough, developing complex flavors. Proper timing and temperature control during this stage are crucial.
Shaping and Final Proofing: Once the dough has gone through bulk fermentation, it’s time to shape it into loaves. This step requires practice and patience, as it determines the final appearance of your bread. After shaping, the loaves undergo final proofing, allowing them to rise before baking.
Baking and Enjoying: Preheat your oven and create a steamy environment to achieve a beautiful crust. Bake your loaves at the right temperature and duration to ensure they are fully cooked. Once golden brown and fragrant, remove them from the oven and let them cool before slicing and savoring.
Frequently Asked Questions
Q: How long does it take to create a sourdough starter?
A: Creating a sourdough starter can take anywhere from 5 to 10 days, depending on various factors such as temperature and humidity. Patience is key during this process.
Q: Can I use whole wheat flour for my starter?
A: Absolutely! Whole wheat flour adds more flavor and nutrients to your starter. You can use it exclusively or mix it with other flours.
Q: How do I know if my dough has proofed enough?
A: A well-proofed dough will show signs of fermentation, such as increased volume and a slightly domed shape. It should also pass the “poke test,” where a gentle poke with your finger leaves a slight indentation that slowly springs back.
Expert Tips
Experiment with Different Flours: Don’t be afraid to try different types of flour, such as rye or spelt, to add unique flavors and textures to your sourdough bread.
Maintain a Consistent Feeding Schedule: Regularly feeding your starter helps maintain its activity and ensures consistent results in your bread baking.
Invest in a Kitchen Scale: Accurate measurements are crucial in sourdough bread baking. Using a kitchen scale instead of volume measurements will yield more consistent results.
Conclusion
Mastering the art of sourdough bread baking is a rewarding and fulfilling journey. With the right techniques, patience, and practice, you can create beautiful and delicious loaves that will impress your family and friends. So, roll up your sleeves, gather your ingredients, and let the aroma of freshly baked sourdough bread fill your kitchen. Happy baking!
Call to Action: Share your sourdough bread baking success stories with us on social media using the hashtag #SourdoughMaster.
We know ads can be annoying, and using an ad blocker makes browsing smoother. But here’s the deal: those ads pay our bills and keep us going.
We work hard to make this place awesome for you. Ads help us do that by paying for the stuff we need—like keeping the website up and running.
When you use an ad blocker, it’s like turning down the lights on our hard work. It makes it tough for us to keep things going smoothly.
We get it, though. Ads can be a pain. So, we’re just asking—if you could maybe turn off the ad blocker for us or give us a hand by sharing our site, it would mean a lot.
Your support helps us keep doing what we love: providing you with cool stuff. Every visit counts, and your help keeps us going strong.
Thanks a bunch for being here and considering our request. We really appreciate you.