Introduction
As the holiday season approaches, many of us look for creative ways to count down the days until Christmas. One delightful tradition is the advent calendar, a charming way to build anticipation and add a touch of magic to the festive season. In this blog post, we will guide you through the process of creating your very own DIY advent calendar. Whether you are a seasoned crafter or a novice looking for a fun project, this step-by-step guide will help you bring the holiday spirit to life.
Getting Started
Before we dive into the details, let’s gather the materials you’ll need for this project:
- Cardboard or wooden box
- Wrapping paper or decorative fabric
- Small envelopes or boxes
- Number stickers or markers
- Scissors and glue
- Ribbon or twine
- Small treats or trinkets
Now that we have everything we need, let’s begin!
Step-by-Step Guide
1. Prepare the Base
Start by selecting a sturdy cardboard or wooden box that will serve as the foundation for your advent calendar. You can repurpose an old shoebox or purchase a plain box from a craft store. Cover the box with festive wrapping paper or decorative fabric, securing it with glue or double-sided tape.
2. Create the Pockets
Next, it’s time to make the pockets that will hold the surprises for each day. You can use small envelopes, boxes, or even repurposed baby food jars. Number each pocket from 1 to 24 using stickers or markers. Arrange them in a grid pattern on the front of the box, ensuring they are evenly spaced and secure them with glue.
3. Fill the Pockets
Now comes the fun part – filling the pockets with delightful treats and trinkets! Consider small chocolates, mini toys, or handwritten notes with festive messages. Tailor the surprises to the preferences of the recipient, whether it’s a child, a partner, or a friend.
4. Hang and Display
To add a touch of charm, attach a ribbon or twine to the back of the box, creating a loop for hanging. Find a prominent spot in your home where the advent calendar can be easily seen and accessed. It could be on a wall, a door, or even a mantelpiece.
5. Unveil the Surprises
Starting on December 1st, it’s time to begin the countdown! Each day, open one of the pockets to reveal the surprise inside. This daily ritual adds an element of excitement and joy to the holiday season.
FAQs
Q: Can I personalize the advent calendar for different family members?
A: Absolutely! You can customize the treats and trinkets in each pocket to suit the preferences of each individual.
Q: Can I use recycled materials for this project?
A: Of course! In fact, repurposing materials adds an eco-friendly touch to your DIY advent calendar.
Q: Are there alternative ways to display the advent calendar?
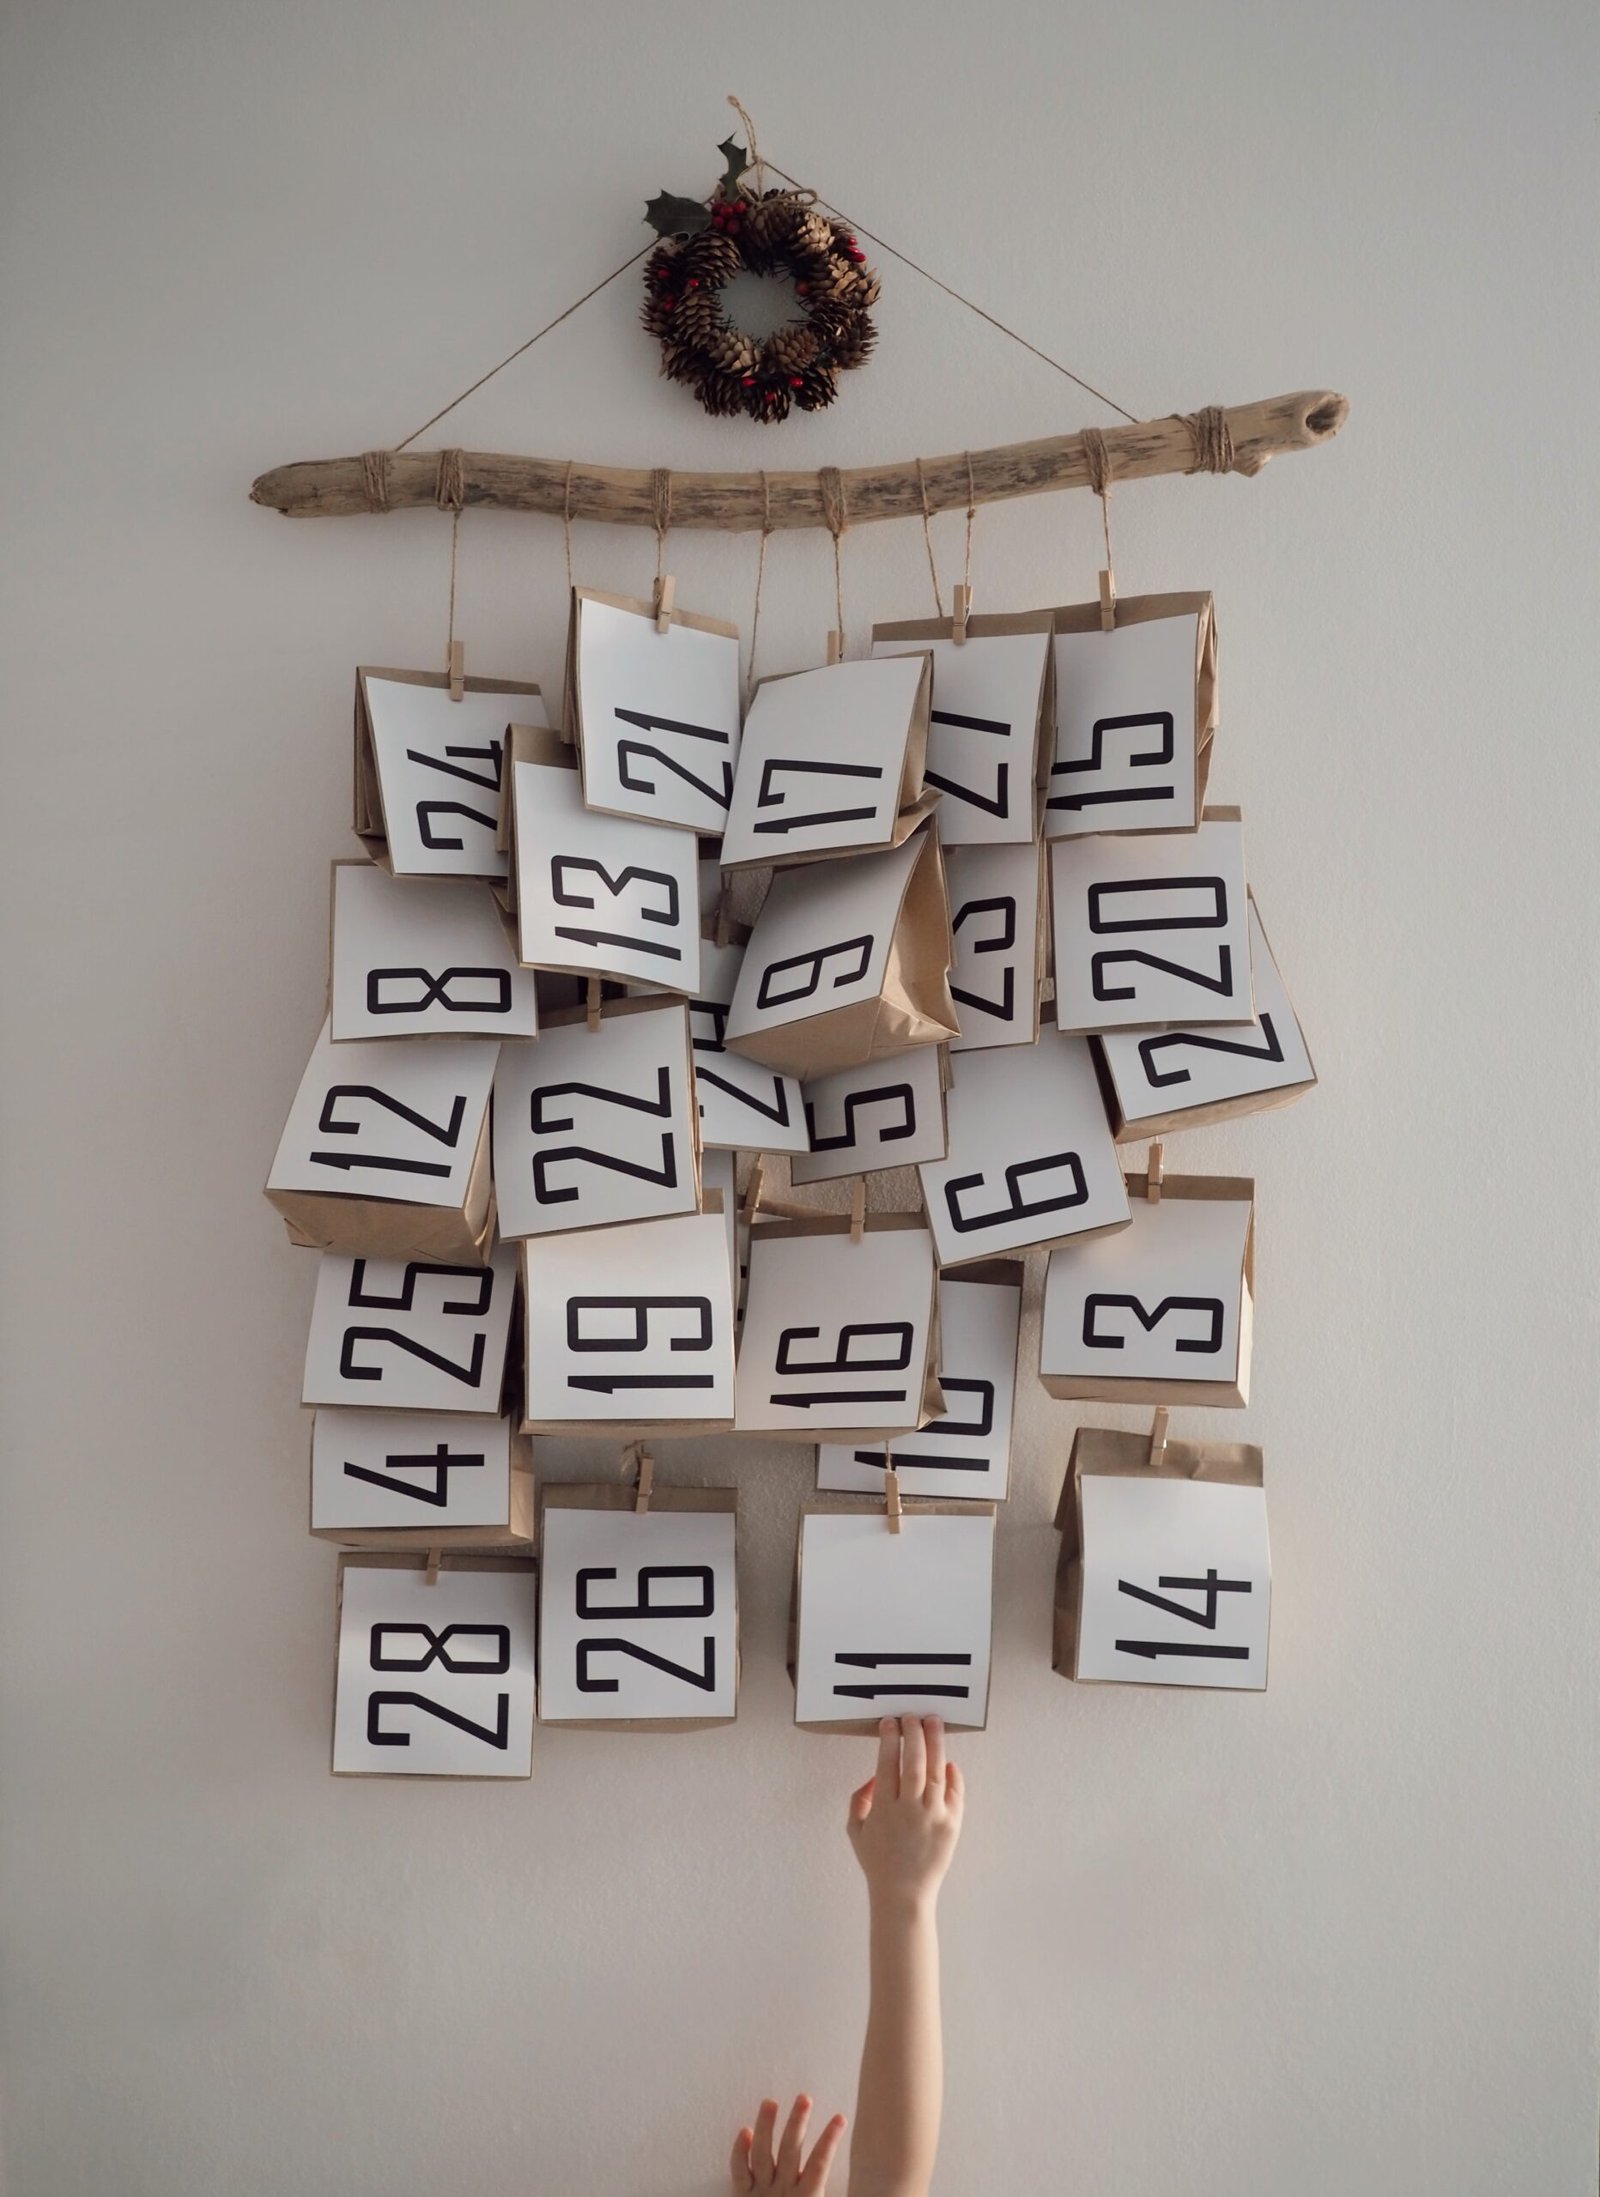
A: Certainly! Get creative and think outside the box. You can hang the pockets on a string, arrange them in a tree shape, or even create a wall-mounted display.
Q: What if I don’t have time to create a DIY advent calendar?
A: If you’re short on time, many stores offer pre-made advent calendars that you can simply fill with treats.
Tips
- Involve your family or friends in the process to make it a fun group activity.
- Consider adding a personalized touch by including handwritten notes or small handmade gifts.
- Keep the surprises varied and exciting to maintain the anticipation throughout the month.
- Remember to take photos of the advent calendar each year to capture the memories.
Conclusion
Creating a DIY advent calendar is a wonderful way to infuse the holiday season with joy and anticipation. By following these simple steps, you can craft a personalized calendar that will become a cherished part of your holiday traditions. Start gathering your materials, let your creativity shine, and enjoy the countdown to Christmas!
Remember, the true magic of the advent calendar lies in the anticipation it brings, so have fun and savor every moment of this delightful holiday tradition.
Happy crafting and happy holidays!
Call to Action
Ready to embark on your DIY advent calendar journey? Gather your materials, follow our step-by-step guide, and create a festive countdown to remember. Share your creations with us on social media using the hashtag #DIYAdventCalendar and spread the holiday cheer!


